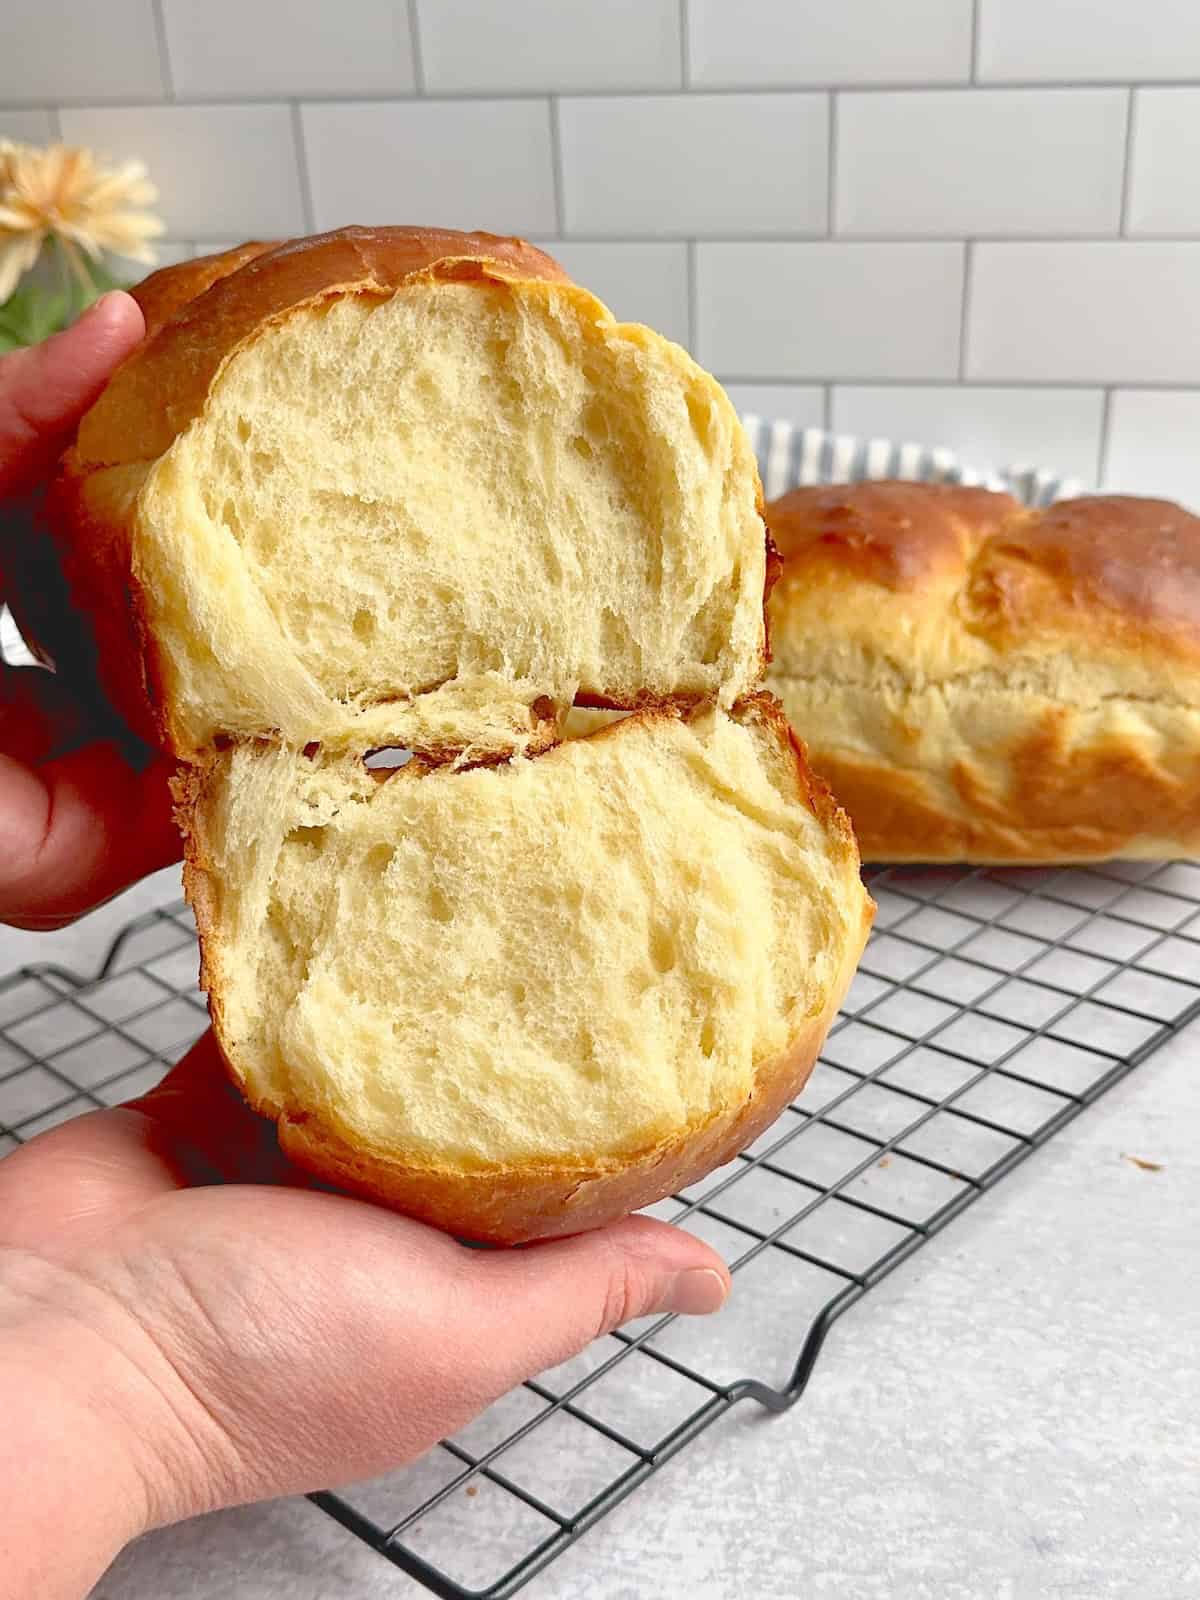
Soft, lightly sweet milk bread made with just a few simple ingredients. This recipe makes two loaves, so you and your kids can enjoy one fresh and keep the other in the freezer for busy days. Enjoy!
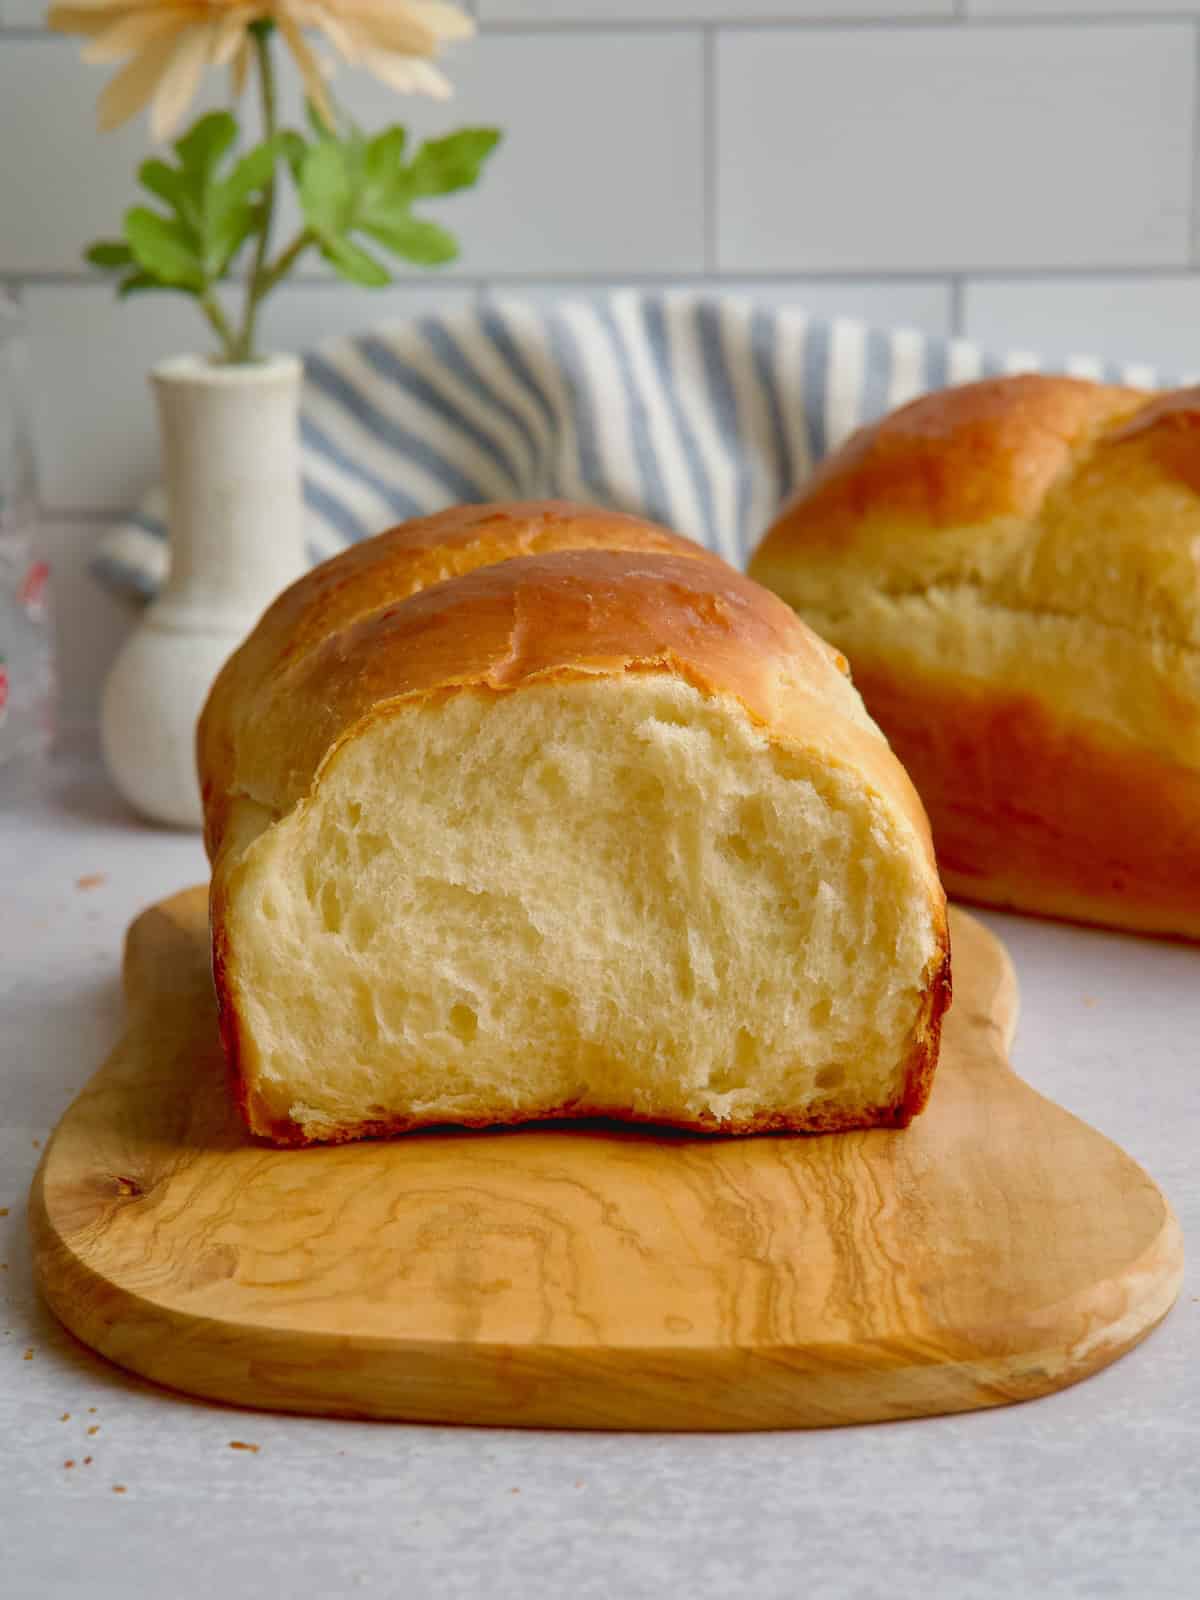
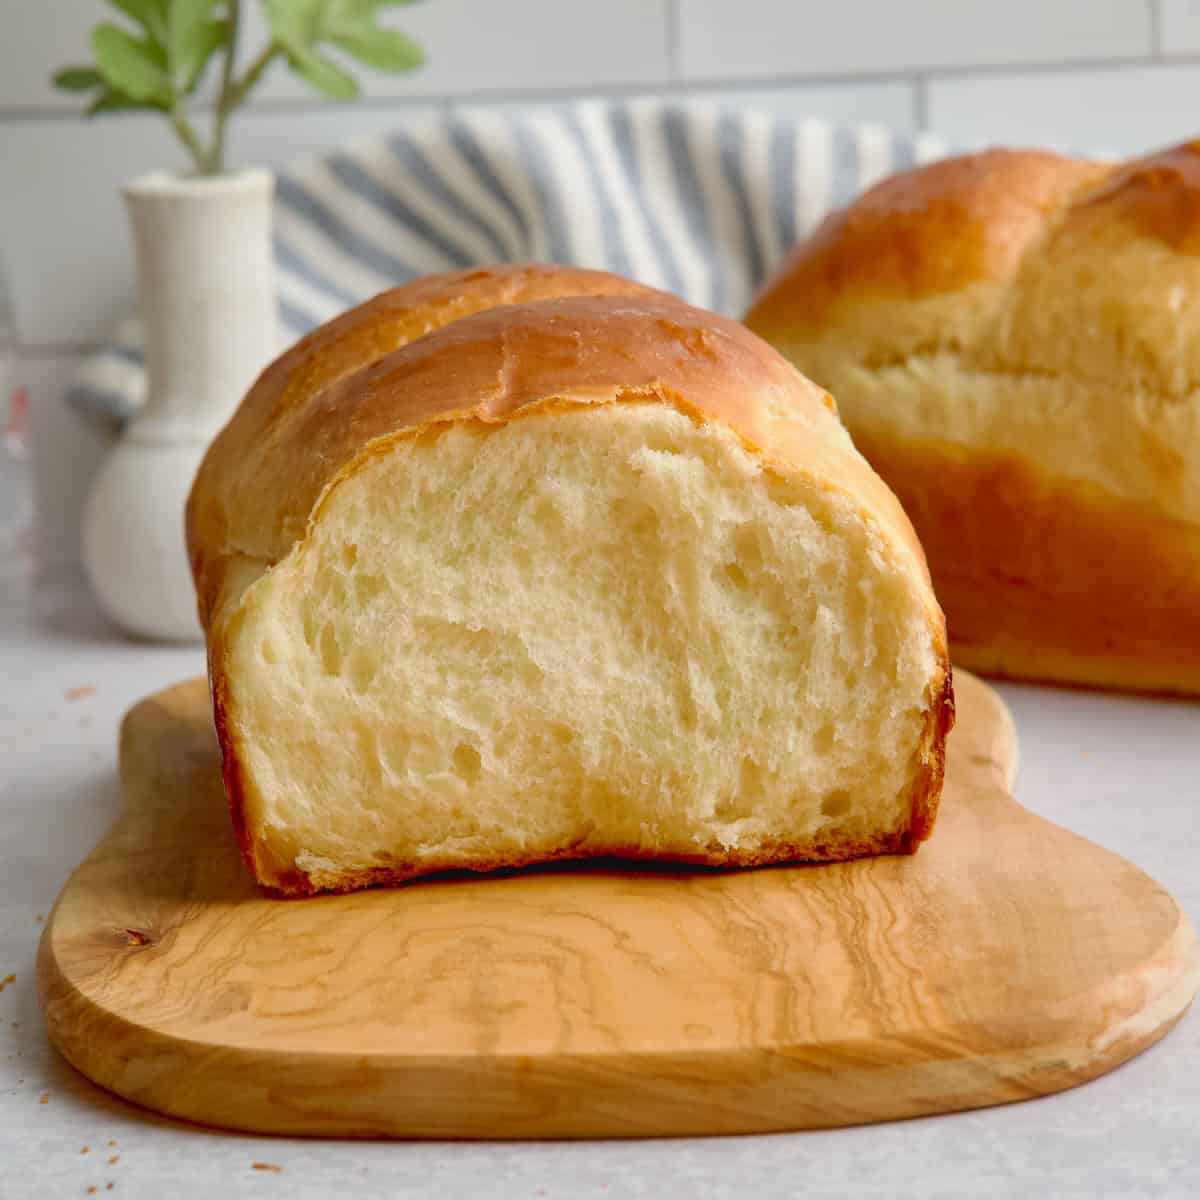
We love this homemade milk bread because it’s less sweet than store-bought milk bread or brioche and made without any additives. It’s so soft, with a light crust on the outside when freshly baked, and it also stores well in a bread bag or bread bin for 3–4 days.
We usually enjoy it plain or with a spread on top, like homemade chocolate spread, jam, or honey. It’s also perfect for sandwiches with a slice of cheese and tomato, or any of your kids’ favorite fillings.
Jump to:
👩🏻🍳 Why you should try my recipe
- Great for the whole family to enjoy.
- Freezable for up to 3 months.
- Perfect for breakfast, snacking or lunchboxes.
- Delicious plain, with a spread or for toasts and sandwiches.
🥘 Ingredients
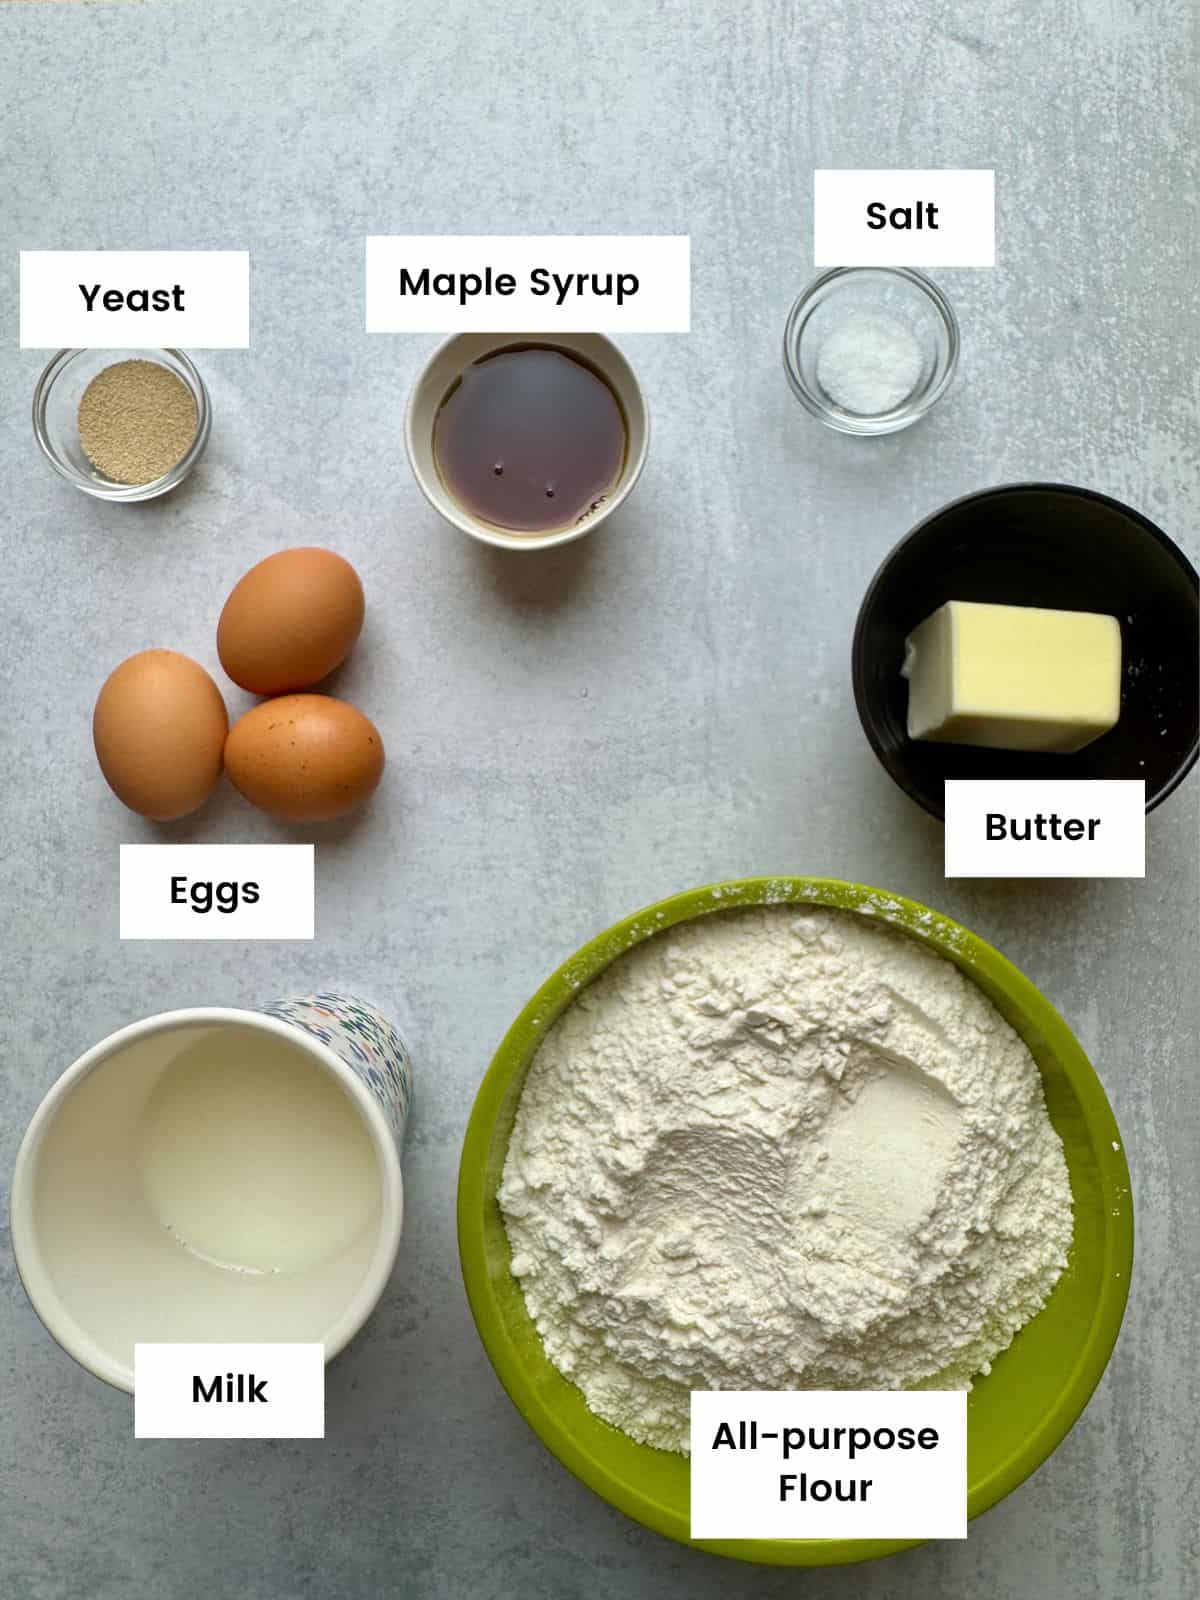
To make sugar-free milk bread, we are going to use all-purpose flour, active dry yeast, milk, eggs, maple syrup, butter and salt. Make sure your ingredients are at room temperature for best results.
- Yeast: I’m using active dry yeast that takes about 10 minutes to activate. You could also use instant yeast that doesn't need activation.
- Maple syrup: To add some sweetness to the milk bread, I'm adding a little bit of maple syrup. You could also substitute it with honey but not for babies under 12 months.
- Salt: A little bit of salt is added for flavor.
- Butter: I’m using unsalted butter for the dough and a little extra to brush over the milk bread after it’s baked, to give it a nice shiny finish.
- Flour: I’m using all-purpose flour with 11.7% protein, which is on the higher end for all-purpose flour. If your flour has a lower protein content, I recommend using bread flour instead for the best results when making milk bread.
- Milk: I'm using full fat milk for a rich milk bread.
For full quantities and to print the recipe, see the recipe card below.
🔪 Step-by-step Instructions
So get your ingredients ready and let's get started!
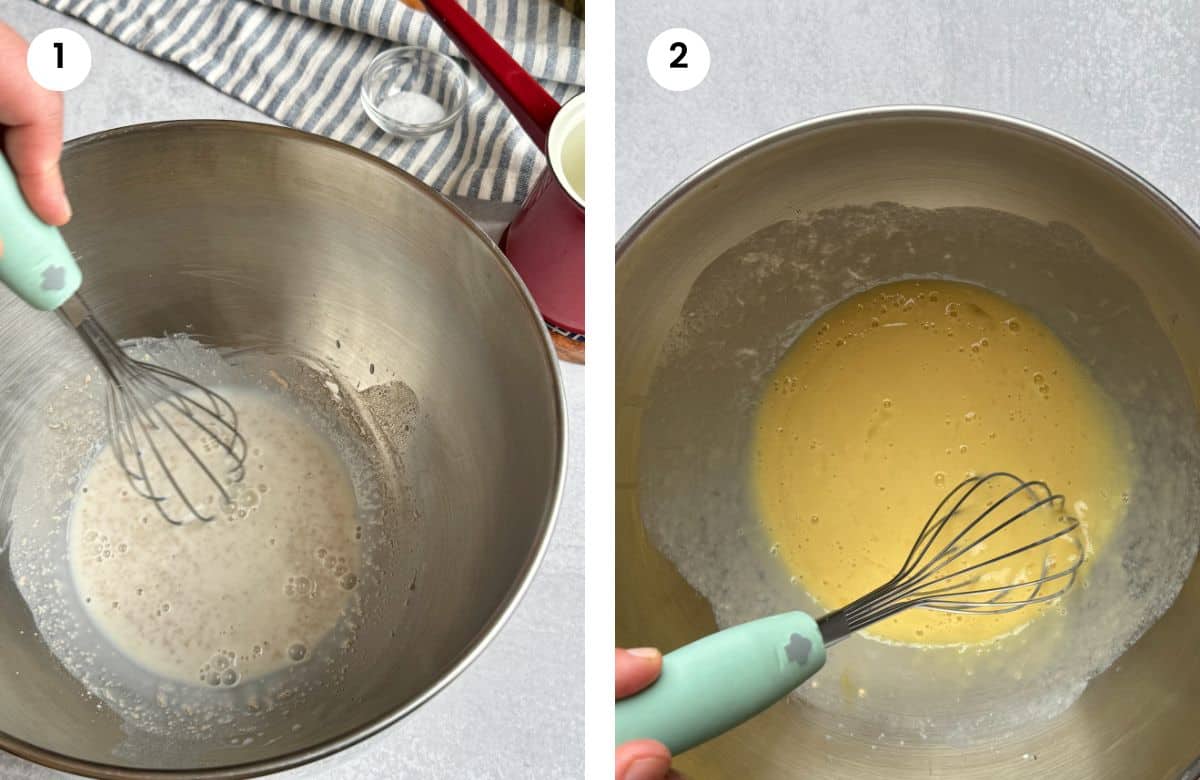
01. I add the active yeast to a bowl along with a tablespoon of flour. Then I take about half a cup of the milk and warm it gently. We don’t want it too hot, as that can damage the yeast. It should feel slightly warmer than body temperature when you dip your finger in. If you’re using a thermometer, aim for 105–115°F (40–45°C).
02. I cover the bowl and let it rest for 10–15 minutes to activate the yeast. Then I add the wet ingredients, starting with the eggs, and whisk everything together with the yeast mixture.
03. I continue with the maple syrup and rest of the milk. Finally I add the flour and salt on top of the wet ingredients.
04. I'm using my stand mixer with the hook attachment to knead the dough. I start at medium-high heat and knead for 5-6 minutes.
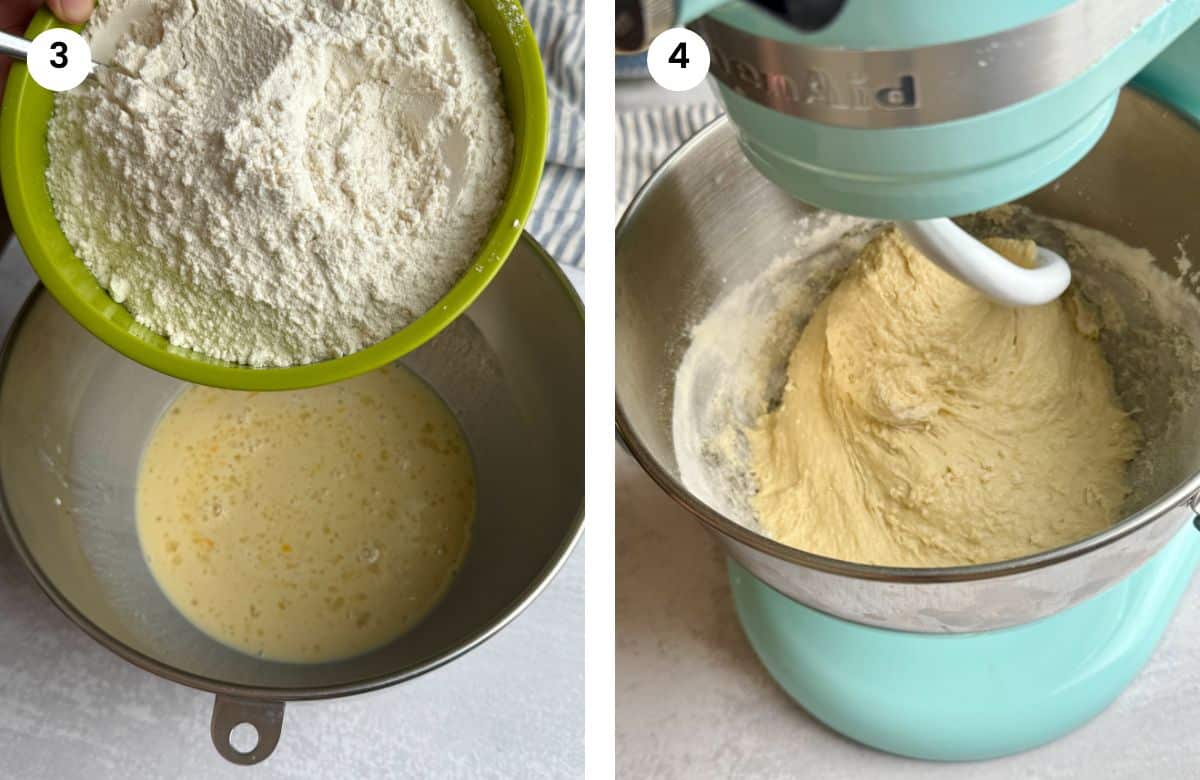
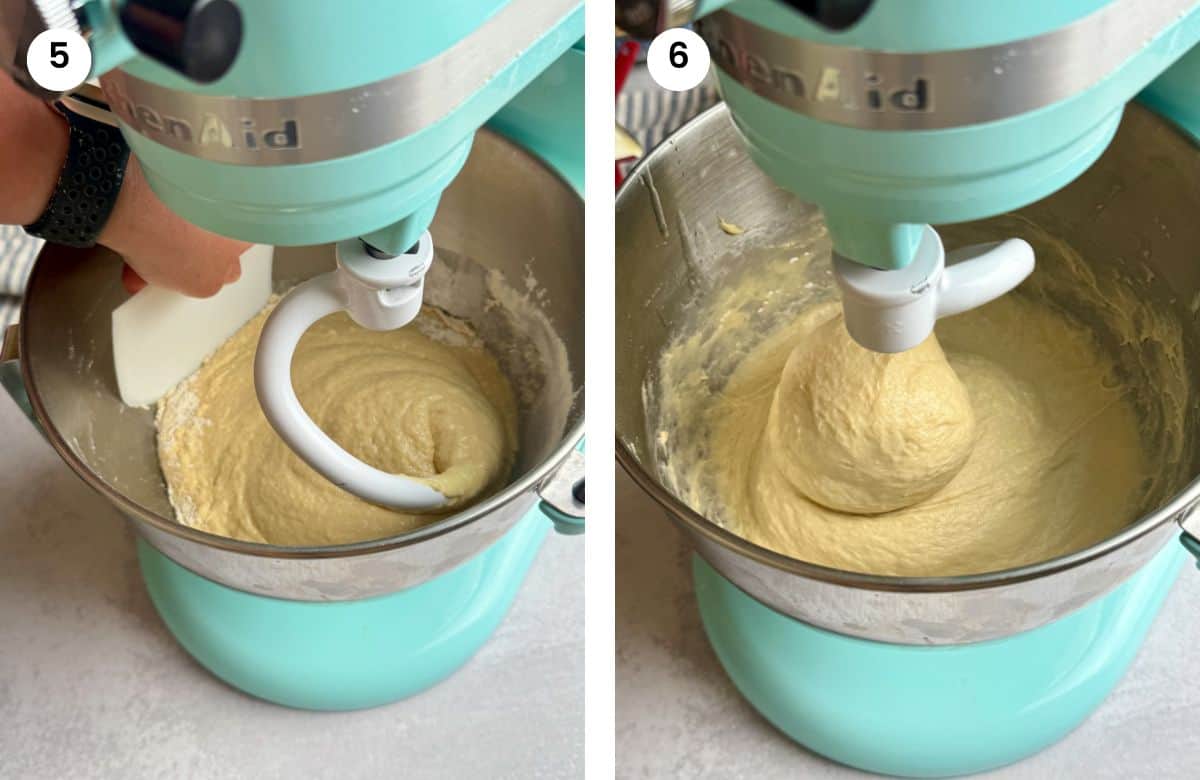
05. If there’s any flour left on the sides, I use a dough scraper or spatula to push it down and incorporate it into the dough. After about 5 minutes, you’ll notice the dough starting to gather around the hook and pull away from the sides of the bowl.
06. Now it’s time to add the melted butter. I don’t pour it all in at once, but add it one tablespoon at a time, allowing the dough to absorb it before adding more. As the butter gets incorporated, you’ll notice the dough becoming shinier and silkier.
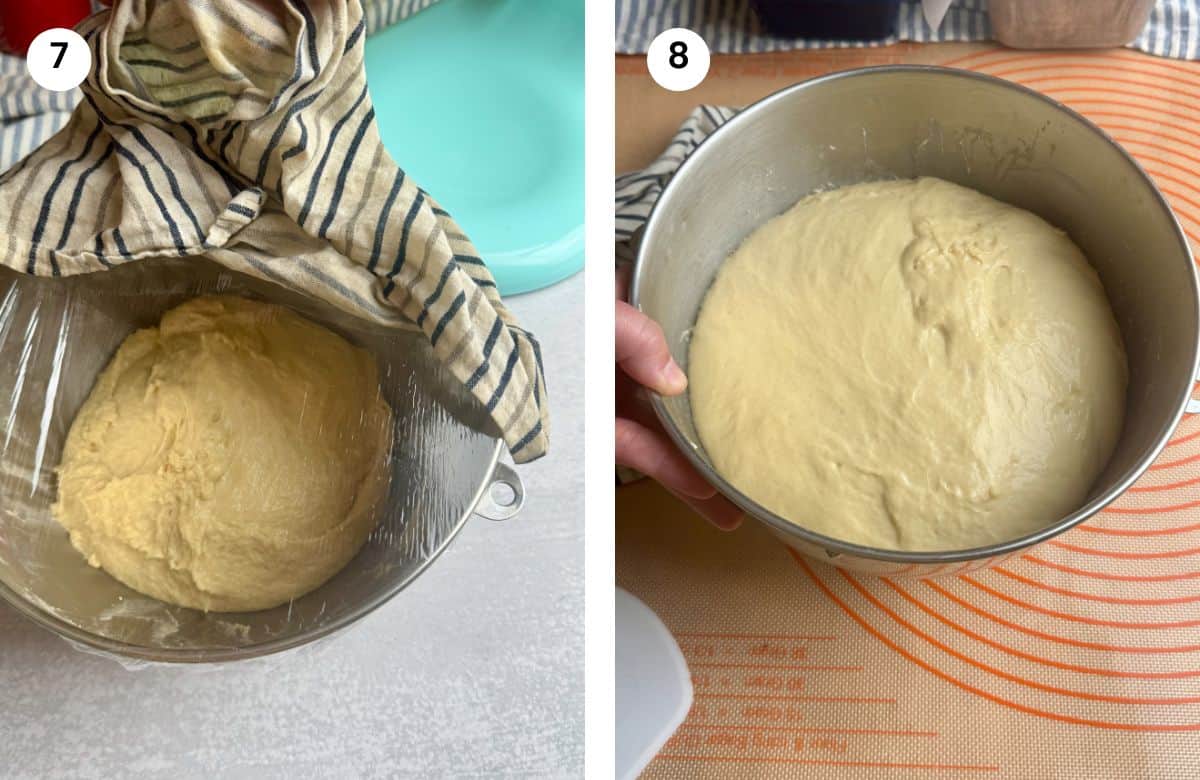
07. After all the butter is added, I continue kneading for 10 more minutes. Then I remove the bowl and the hook and cover the bowl with cling film and a towel. I find a warm corner in my kitchen and let it rise for 1.5-2 hours.
08. When the dough has doubled in size, I lightly oil my hands and use a dough scraper to remove it from the bowl. I like to use a silicone mat when working with bread or pastry dough, but you can also use a wooden board or your kitchen countertop, and just lightly oil the surface first to prevent sticking.
09. I split the dough in half and then each half into three pieces. We are making two milk bread loaves.
10. I take the first piece and gently stretch it lengthwise with my hands. Then I roll it up from one short side to the other. Next, I turn it vertically, stretch it out once more, and roll it up again toward the top. You can watch the video below for a better visual guide.

11. I’m using two loaf tins. If they’re non-stick, just lightly brush the sides with a little oil. Otherwise, you can line them with parchment paper to make the bread easier to remove after baking.
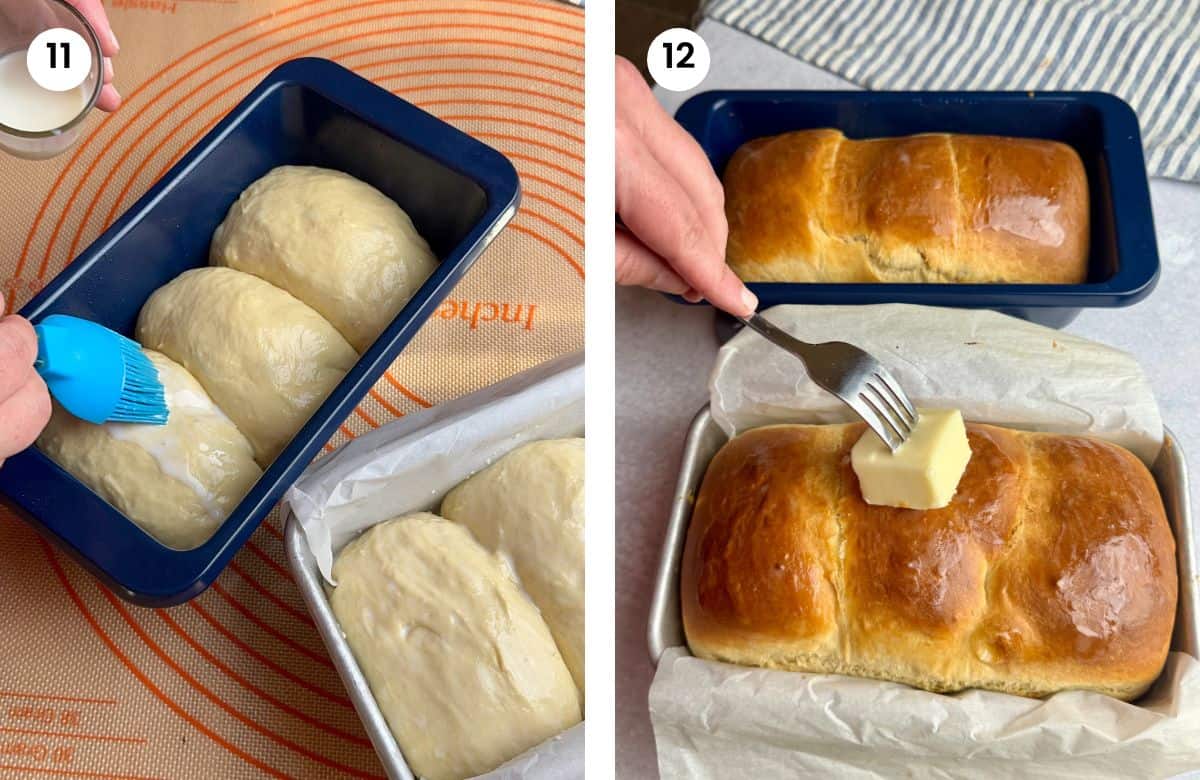
I place three rolls into each loaf tin, then cover them with a towel and let them rise for about 30 minutes while the oven preheats. Before placing in the oven, I brush the top with some milk to get a nice crust.
12. It takes about 30-35 minutes for the milk breads to be ready. You are looking for a nice golden brown top and if you have a thermometer, the internal temperature should be around 190°F-200°F. When I take out the loaf tins, I brush the top with a little bit of butter to give the milk bread a nice, shiny look.
HealthyBitesForKids Product Picks
Very cute storage bags for bread and great at keeping the bread and pastries fresh. They are quite big and can fit two loaves.
Buy On Amazon🍽 Serving Suggestions
We love having this milk bread plain while it's still warm. You could also cut it in slices when it cools down and make a sandwich with just cheese or a healthy spread.
🧰 Storage
This recipe makes two loaves of milk bread. You can store one loaf in a bread bin or a reusable beeswax bread bag, and slice the other to keep in the freezer for busy days when you don’t have time to bake a fresh loaf.
❓ FAQ
Yes, I recommend cutting it in slices before placing in a freezer bag so you can thaw individual slices.
If you tried my milk bread recipe or any other recipe on my website, please leave a 🌟 star rating and let me know how it went in the 📝 comments below. I love hearing from you!
📋 Recipe

Easy Milk Bread (No Refined Sugar)
Ingredients
Yeast Preparation
- 2 ¼ teaspoons active dry yeast
- ½ cup milk lukewarm
- 1 tablespoon flour
Dough Ingredients
- 3 eggs at room temperature
- ¼ cup maple syrup at room temperature
- 1 cup milk at room temperature (plus two tablespoons for brushing)
- 5 ¼ cups flour all-purpose (11.7% protein) or bread flour
- 1 teaspoon salt
- 5 tablespoons unsalted butter (plus some for brushing at the end)
Instructions
- In your mixer bowl, add the yeast with one tablespoon of the flour. Add ½ cup of lukewarm milk and whisk to combine. Cover with cling film and let it rest for 10-15 minutes.
- Add the 3 eggs and whisk to combine. Then add the maple syrup and remaining milk and combine.
- Add the flour and salt to the bowl, then place it on the stand mixer fitted with the dough hook attachment.
- Start mixing in medium speed and increase to medium-high. Use a dough scraper to incorporate any flour stack on the sides of the bowl. Mix for 5-6 minutes.
- Set the speed to medium-low. Start adding the melted butter to the dough, one tablespoon at a time. Wait until each tablespoon of butter is incorporated before adding the next one. It should take 3-4 minutes to add it all.
- After the butter is added, continue kneading for 10 minutes. The dough should look shiny and pulling from the sides.
- Cover the bowl with cling film and a towel. Let the dough rest for 1.5-2 hours until doubled in size.
- After the dough is risen, lightly oil your hands and deflate. Place on silicone matt or lightly oiled surface. Split the dough in two for each loaf.
- Take each half and roll it into a log. Split it into 3 pieces to shape the loaf. Take one of the dough balls and stretch it, then roll it up from the shortest side to the top. Turn it again vertically and stretch it. Roll it up one more time.
- Place the rolled dough in your loaf tin lined with parchment paper or brushed with oil to prevent sticking. Repeat with the other two dough balls, stretching and rolling. Then place them in the loaf tin, total of each dough rolls for each loaf tin.
- Cover the loaf tins with a towel and rest for a second rise for about 30 minutes. In the meantime, preheat the oven to 350 ℉ / 180 ℃.
- Gently brush the top of milk bread loaves with some milk. Bake for 30-35 minutes until golden brown and internal temperature should be 190-200℉.
- Once baked, you can brush the milk bread with a little butter to give it a beautiful shiny finish. Let it cool down for 5 minutes before removing from the tin and place on a wire rack.
Video
Notes
- Each loaf makes about 15-18 slices depending on the thickness. For the calorie calculation, I used 15 slices per milk bread loaf.
Nutrition
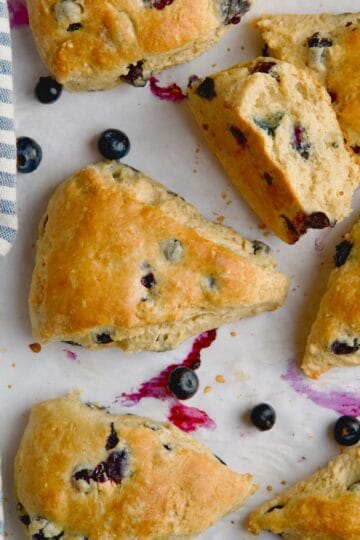
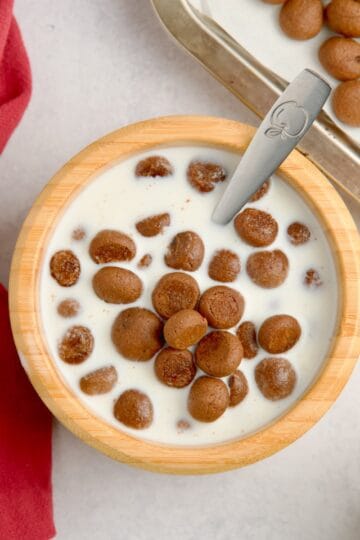
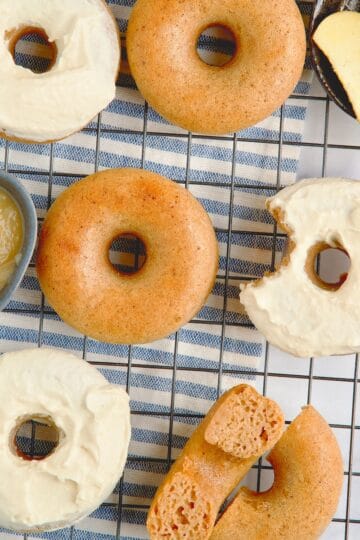
🥣 More to try
If you liked my milk bread recipe, you should try some of these recipes too:


Julia Droulia
Thank you for stopping by the comment section! Here, you can share your feedback and leave a star rating. Readers like you often find comments helpful when deciding which recipes to try. I hope you love this one as much as we do!